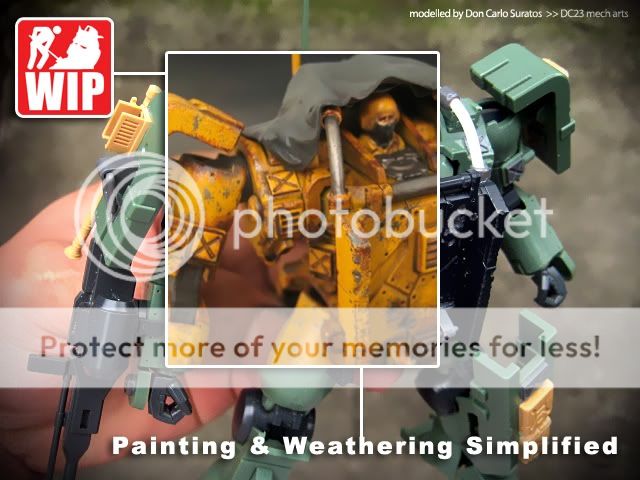
Not a perfect build for a tutorial but I learned and experienced a few techniques during this build, thus I thought it could be a nice guide for people who are just starting into modeling or Gundam plastic modeling. All of the techniques like the weld effects, enamel washes and damaging have their own tutorial posts in my
TUTORIAL page already. But a new entry on painting and weathering as a tutorial would not hurt I guess.
This also serves as my usual WIP summary every time I finish a build and I have too much multiple work in progress posts on this very simple and quick build, reconstructing all those posts into one is a bit more practical for readers to access. Now lets go through the build with some selected photos and some short capsules...
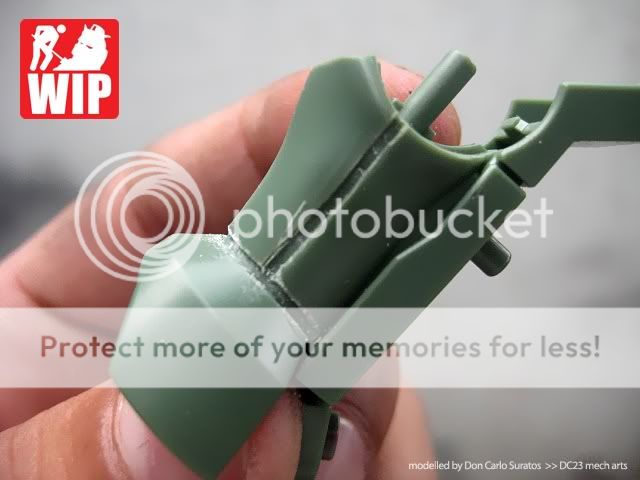
1. Pre - painting >>>Remove seam lines, sand of nub marks, modify the kit to your liking or concept , and add some battle damage effects if you like.
2. Painting >>>
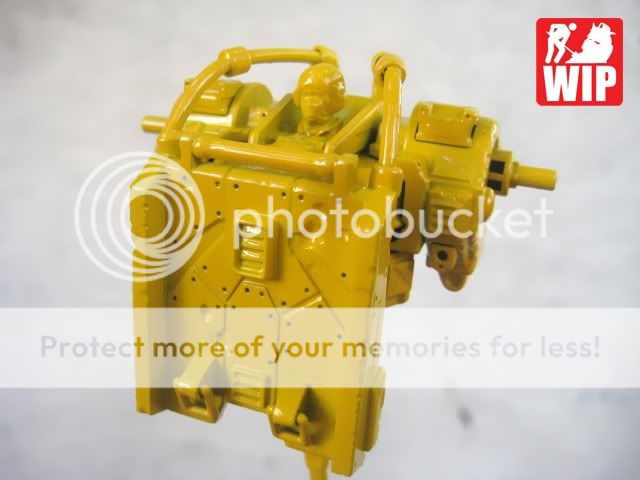
After modifying, cleaning up the kit and prepping it for painting, I always PRIME it first with Bosney grey primer, let the primer cure overnight then paint the base color ( in this case yellow and grays ). Basic TIP: Always give yellow and red paints a white BASE color after priming. Without a white base, the red and yellow paints will come out darker and not as vibrant as it should be.
3. Weathering >>>
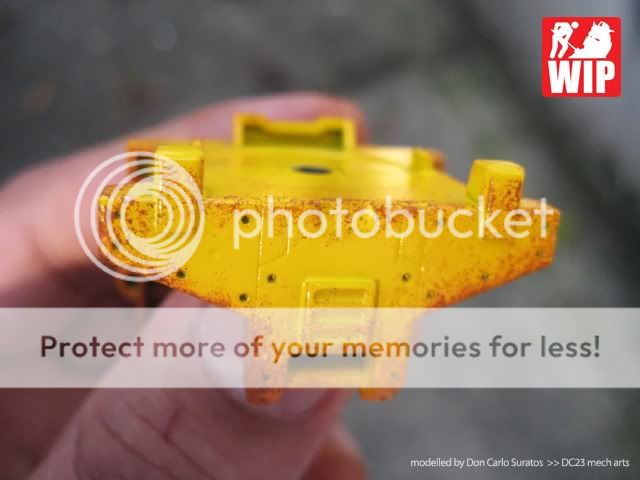
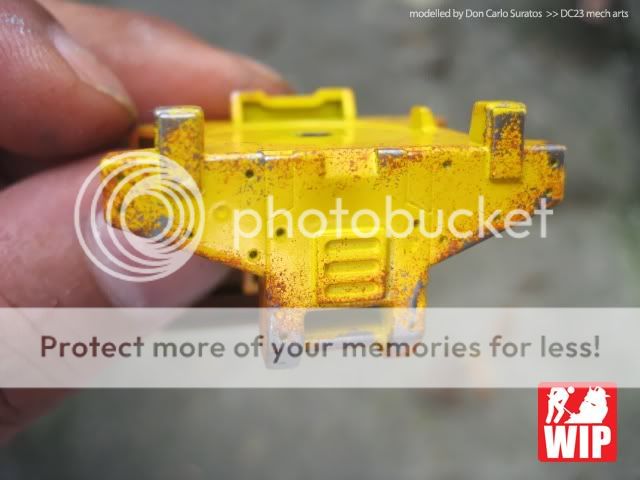
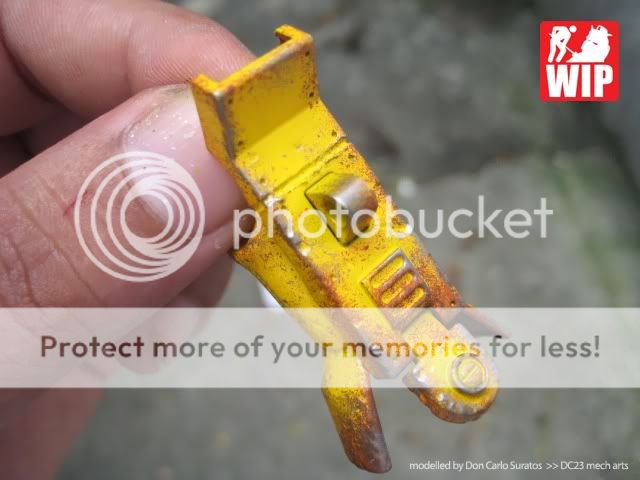
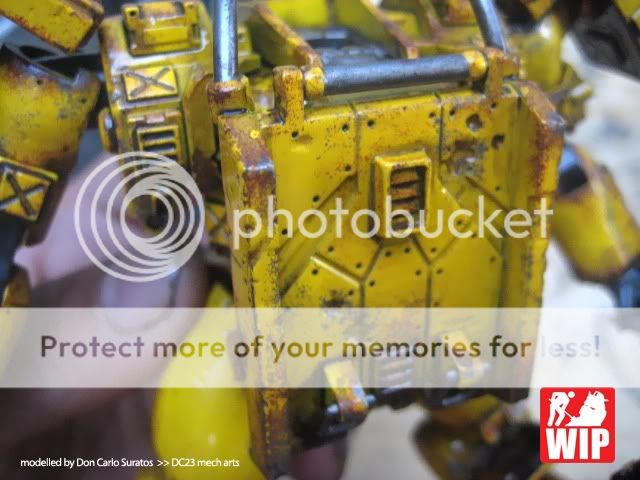
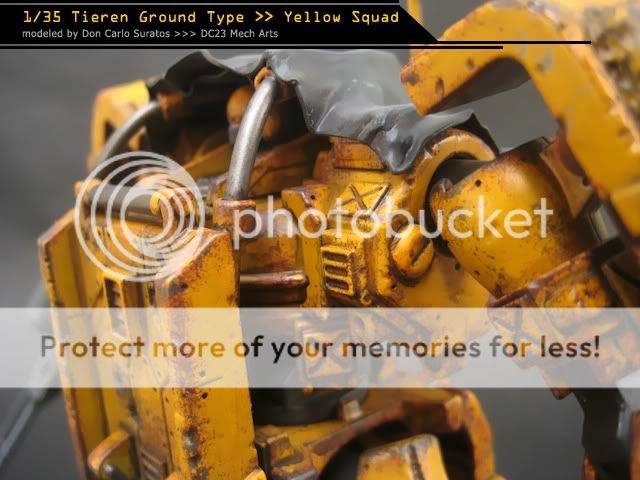
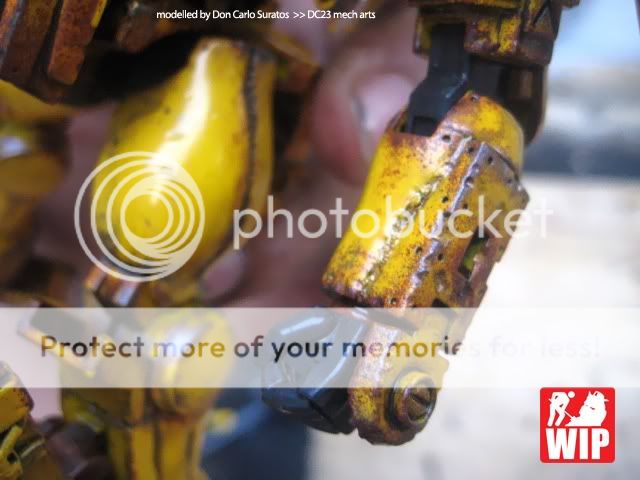
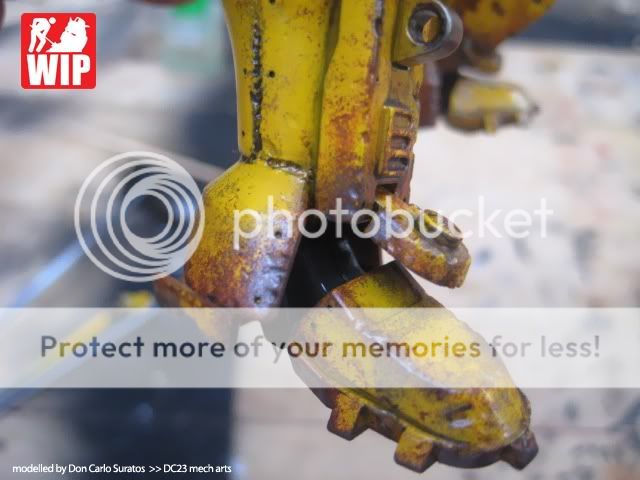
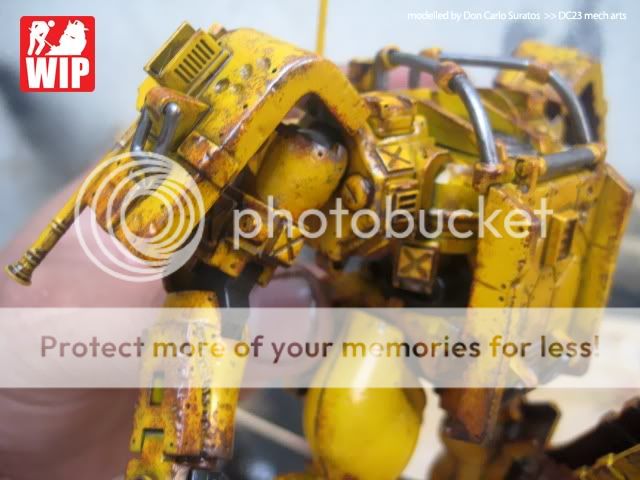
This always sounds complicated but weathering is just basically picking the right colors to compliment your base color and your diorama if you have one. I experimented with this build by using two tone paint chipping effects. I like the outcome very much so I might try a three tone paint chipping in my next weathered build.
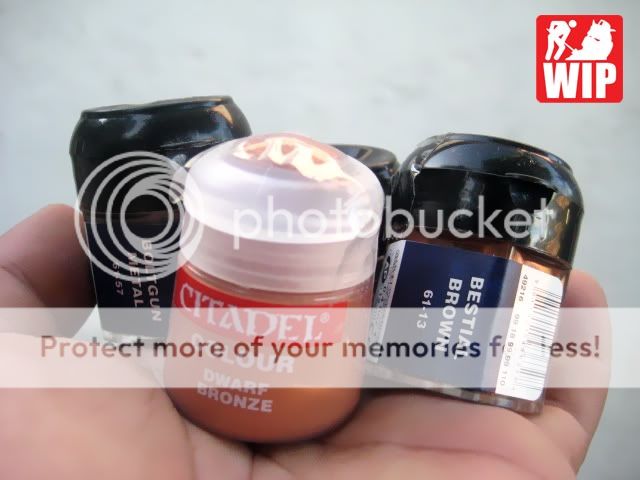
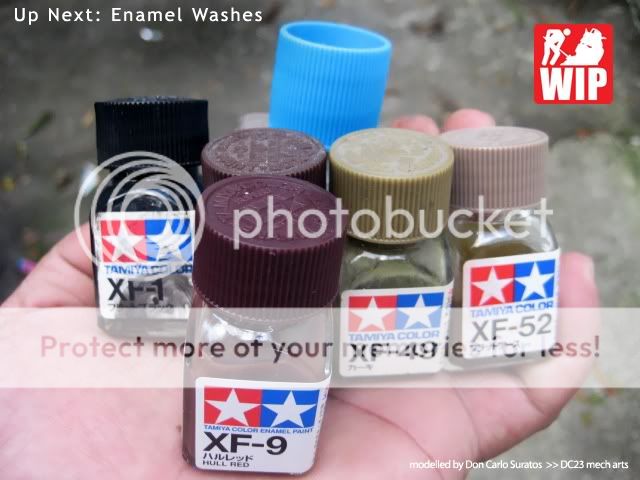
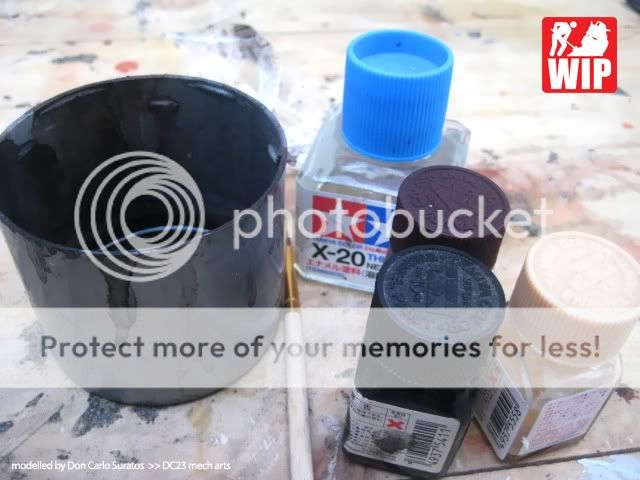
I always use Citadel ( acrylic ) paints for my paint chipping and then use Tamiya enamel for my washes. No need to seal the kit after paint chipping as the enamel thinner ( even Zippo ) does not harm the acrylics underneath.
Note: I should have used a dark colored paint for the paint chip effects of the light grey gun / rifle. The silver is just too subtle in the final photos making the gun look a ton cleaner than the yellow parts. As I always say, I hate subtleties so I was surprised myself to have opted for the subtle effects of silver on the light grey gun. It looks ok in real life though.
That is about it guys! Gunpla is so much fun! Weathering and painting is simple it just sounds complicated when people start calling washes " filtering " even though filtering is different.
Note: I sprayed a thin layer of clear RED over the yellow parts giving it a more orange tone in the final photos. I think that is called filtering.
What is the difference between filtering and washes??? I think washes are meant to build up in the crevices and details of the kit WHILE filtering is simply adding a layer of color to alter the tone a bit. Filtering is either airbrushed or a special kind of paint that I do not have could be applied through hand brushing.
Don't bother with filtering yet, practice the washes and you'll achieve pretty good results with your build. As always, Just have fun and enjoy the hobby guys!
Thanks for dropping by! Til next post! :)