Showing posts with label Turn A bust WIP. Show all posts
thumbnail

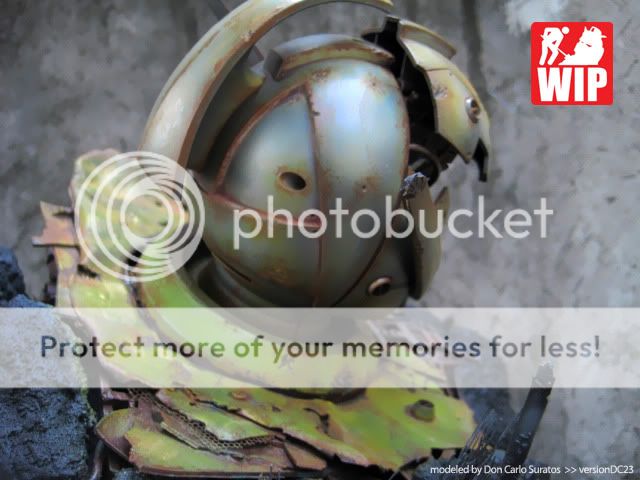
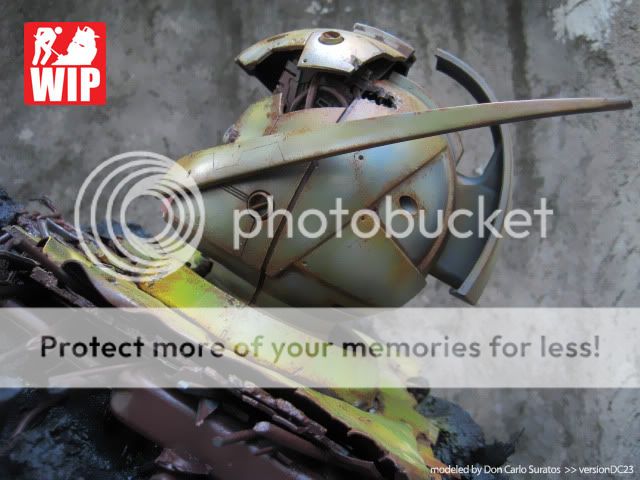
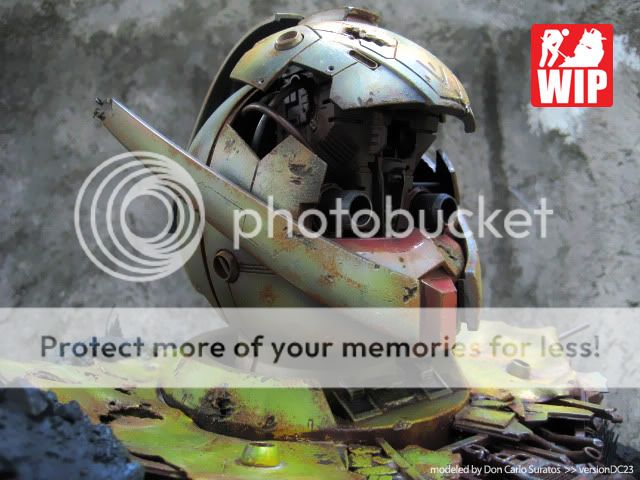
Ebasenet Head GB - Turn A WIP Summary


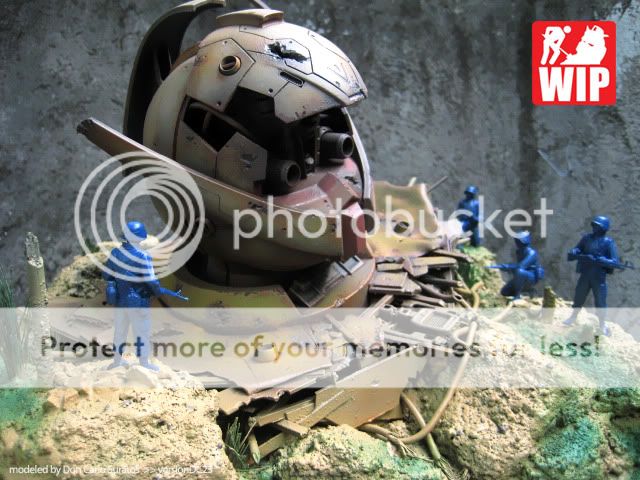
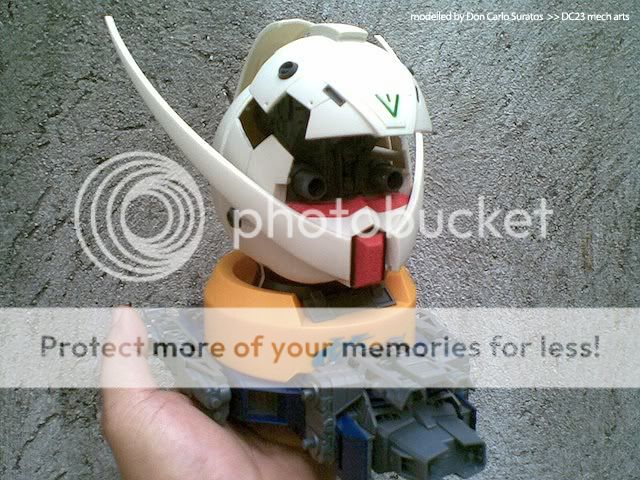
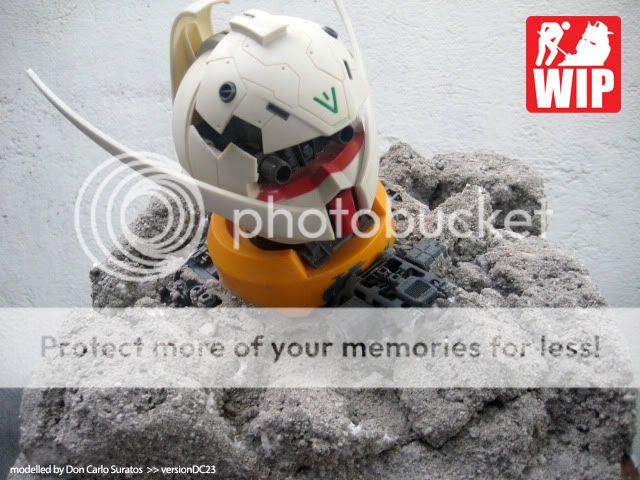
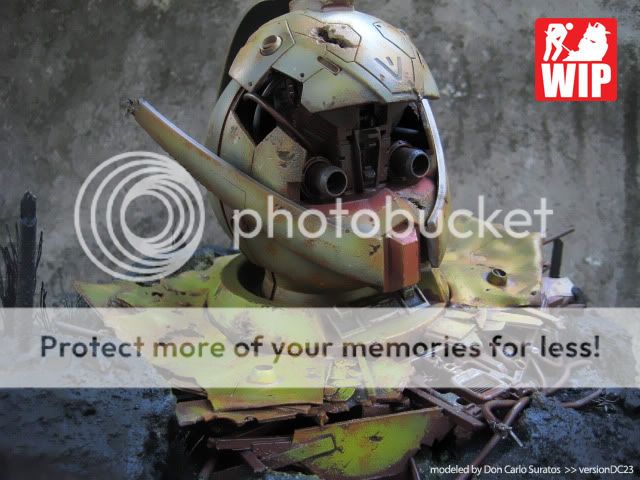
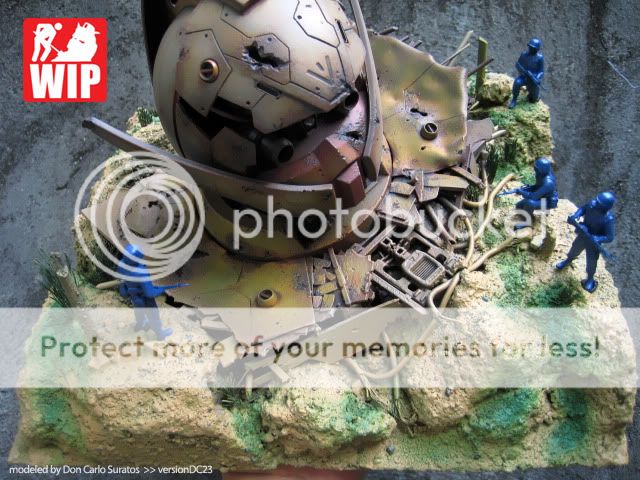
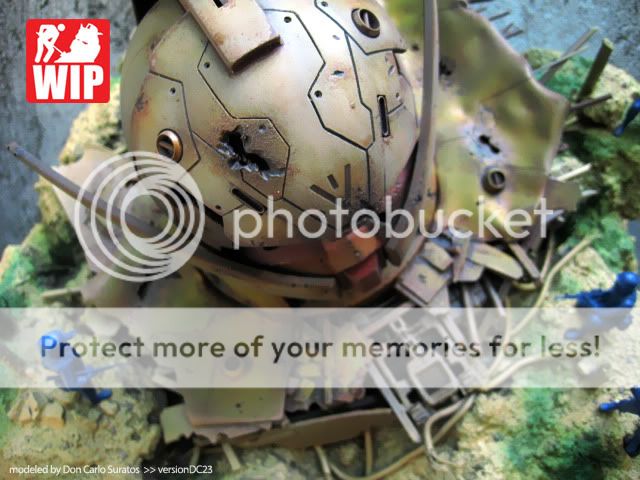
I thought of putting up a summary post of my Turn A head WIP as all of the WIP posts are scattered all over my blog. My last WIP update shows that the project is almost done although I still have to detail paint the figures and do some pastel work on the head to complete it.


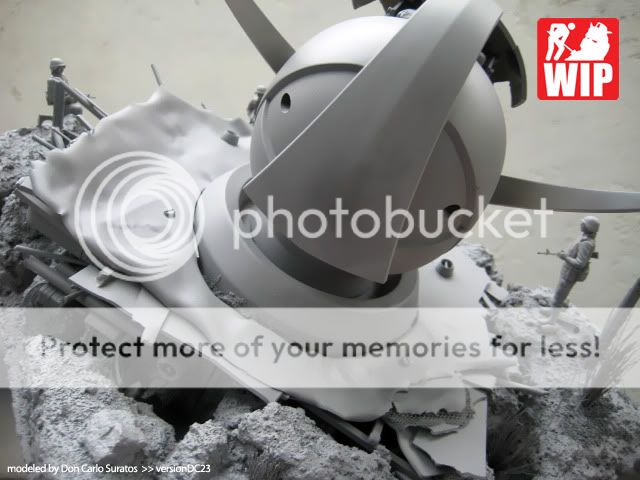
I bought this Turn A in one of the Toy conventions here in the Philippines and it is a coin bank. I then thought of adding details to it and used the MG G-Fighter as the neck / upper torso part. Then the Ebasenet GB was announced at ZeroGunz and I thought of using it as my entry. Although I have started on the project a bit, Whitebase allowed me to enter it for their GB.


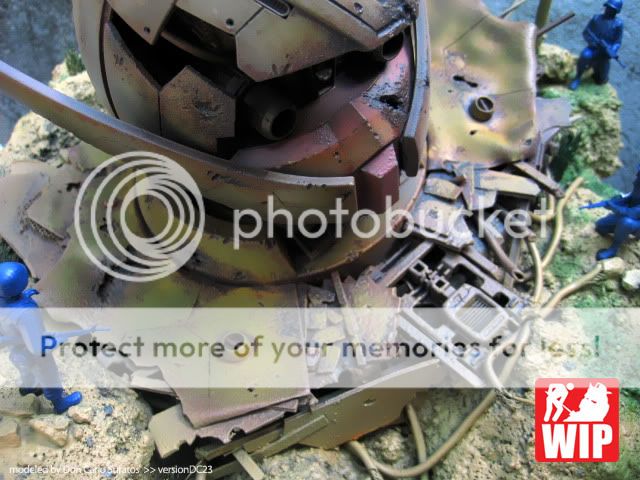
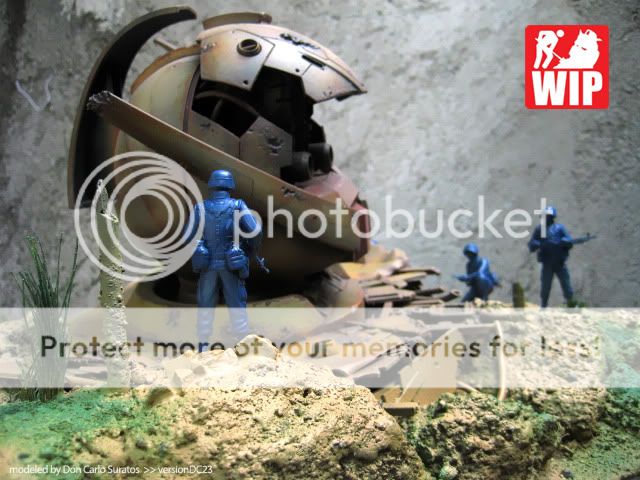
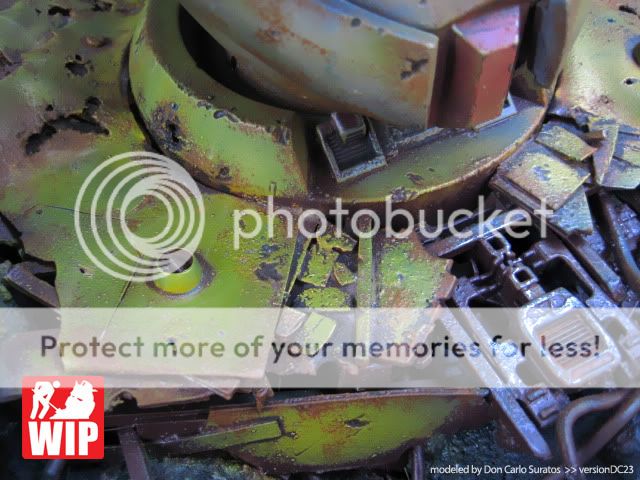
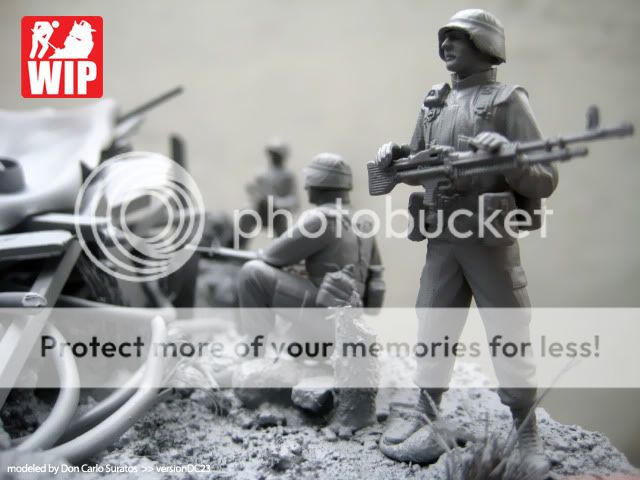
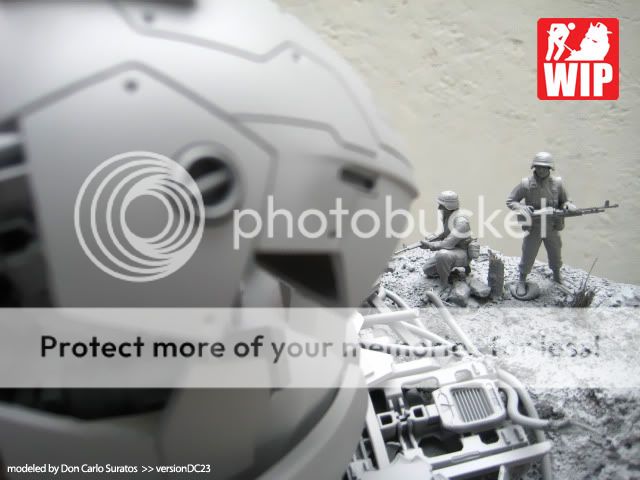
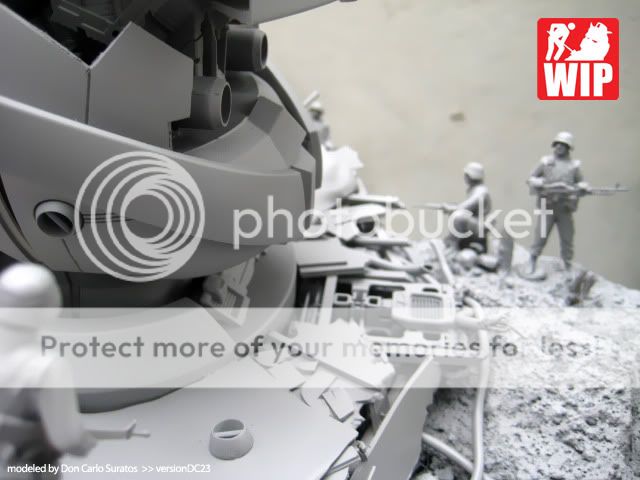
I then decided to set up a simple base for the head and make it look like it was totally damaged and dead already. I then added some out of scale 1/35 figures to give life to the whole set up. The base of the neck is scratch built with some pla plates and it is painted with Tamiya acrylics.


Weathering was done with Mungyo pastels, Tamiya enamels, Citadel acrylic paints, and Tamiya weathering master. Anyways, here are some photos showing the whole progress of the build...





Thanks for dropping by! Til' next post! :)


thumbnail

Ebasenet Head GB - Turn A last WIP update


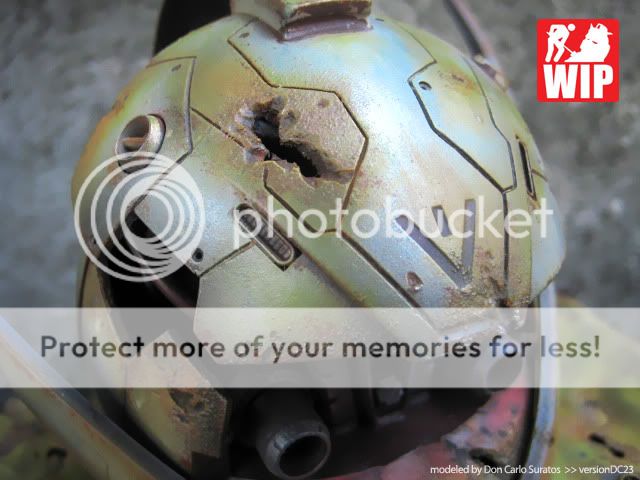
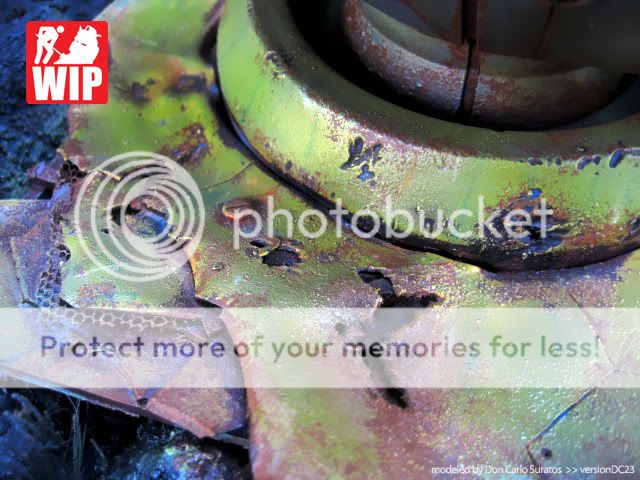
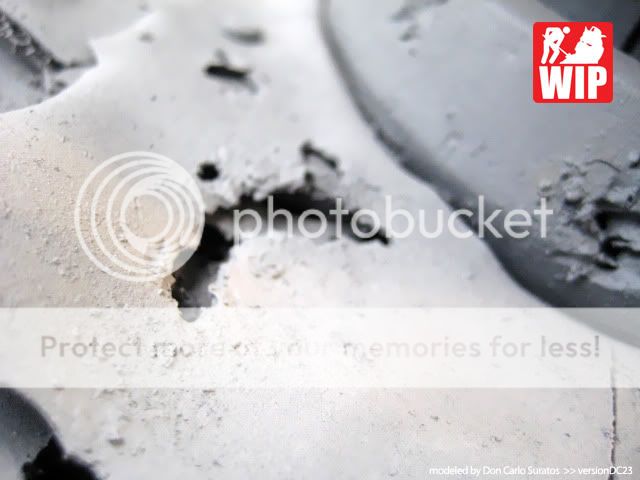
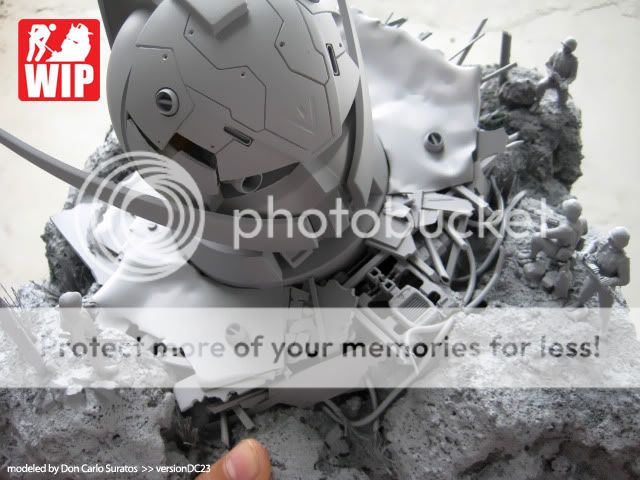
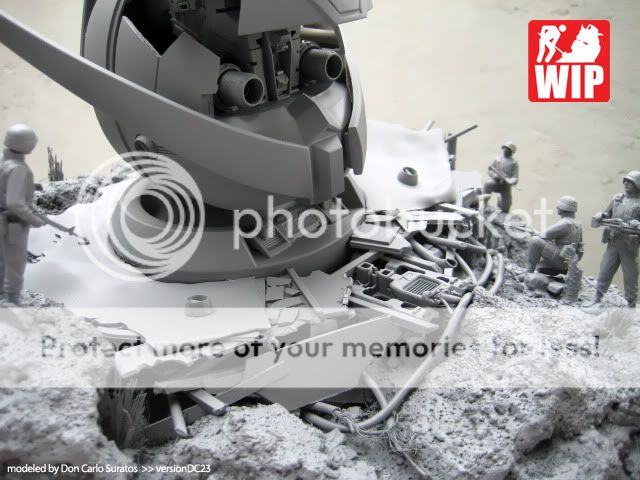
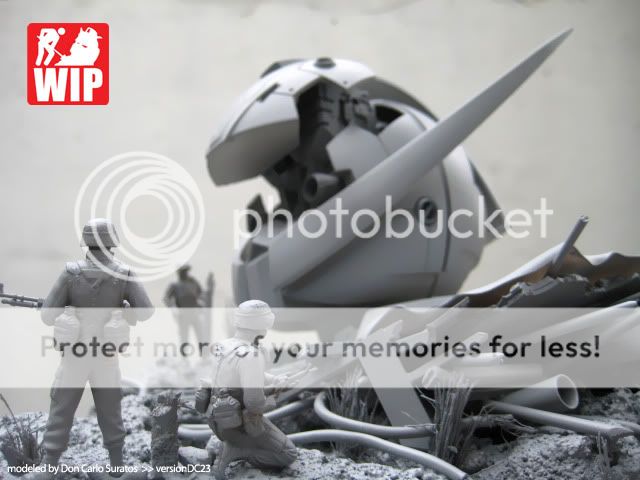
Almost done! This is my entry for the Ebasenet / ZeroGunz Head Group Build and I managed to almost finish it last night. In comparison to the previous update, The overall color of the Turn A head is a bit warmer and rustic looking. I basically added more washes to the head and used the RED Future variant as the overall flat top coat.


The Red Future ( Pledge Wipe and Shine ) acts as a very soft filter as it is a light clear red in color. It blended all the weathering effects added to the kit thus giving it a more realistic look. The ground work was painted with my airbrush and a lighter tone of the groundwork was also sprayed around the edges of the Turn A head to serve as dust effects.


I also painted the soldiers in Tamiya acrylics and will have to paint all the details with a fine brush. I decided to give the figures a blue uniform as khaki and greens are too realistic to me. Hopefully the blue uniforms will give the whole diorama a more SCI FI look.


Enamel washes around the corners of the groundwork, pastel work on the Turn A head and detail painting of the figures will complete this build. This will be the last WIP update for this build and hope to finish this soon. Anyways here are some snapshots of the progress so far...


Thanks for dropping by! Til' next post! :)


thumbnail

Turn A head WIP - initial painting & weathering


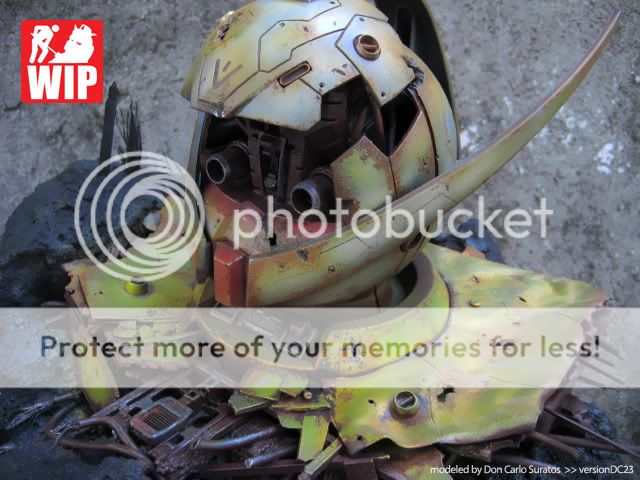
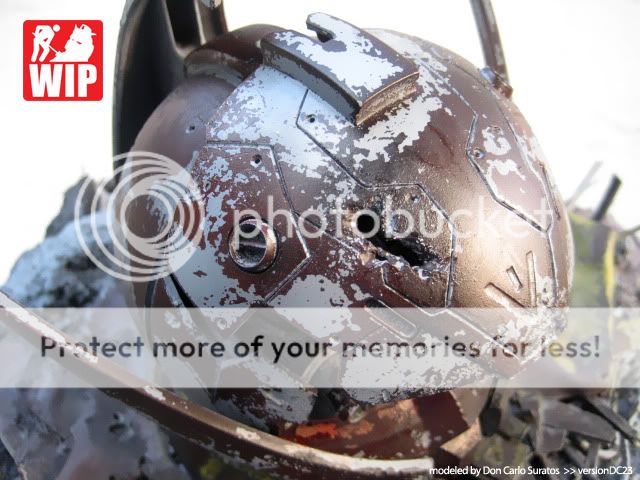
I managed to paint the base colors of the head yesterday and was also able to do the initial weathering. I painted this with Tamiya acrylics, added a one color paint chipping with a sponge, gave it a couple of enamel washes, applied some Tamiya weathering master colors and some Mungyo pastel streaks.


I do not have some oil paints for the spot washing and I also need a couple of citadels to actually finish this head. I managed to apply some sort of streaks ( the blue ones are very noticeable ) with my Mungyo pastels replicating the effects of spot washing somehow.


The Tamiya weathering master rust color is sticking out like a sore thumb, so I need to blend everything in with some Tamiya smoke post shading later. Another darker color of paint chipping, some spot washing with oil paints, and a bit of dry brushing on the internal parts would complete the weathering of this piece.


The photos shows a slight irritating sheen ( semi gloss ) finish to the kit thus it looks like unpainted plastic with weathering. I will be giving this a better flat finish before the final pastel work though. I have to put this aside now as I will resume work on the MG Zeta commish for the next couple of days. Updates on that build very soon. Anyways here are a few snapshots of the Turn A progress so far...


Thanks for dropping by! Til' next update! ;)


thumbnail

Turn A head painting - EPIC FAIL!


The painting of the Turn A was an absolute epic failure! I tried the Hairspray Technique to produce some nice effects and because I did not add salt on the corners, the overall paint chipping effect was too much. I basically came up with a totally rusted head.


As much as I want this to be heavily weathered, the results of the painting was way too much for the effect I was trying to achieve. I also added some cast iron textures before the painting. The texture won't be cast iron but I figured that because of the scale of the build, I do have to put more evident textures for the rust painting later.


You do not want rust over a silky smooth surface do you? I think the paint chipping failure and the cast iron texture will both give the head some interesting textures for the weathering later. I do not like to come up with a weathered build with rust over a smooth surface. Doing weathering on a smooth textureless surface would result to an unpainted BUT weathered look.


I then re-primed the kit and then eventually painted it flat black as the base color for the airbrushing soon.   I like using flat black as base color as the hard to reach crevices would remain black and I won't really need to bother painting them. Anyways here are more photos of the progress so far...


Thanks for dropping by! Til' next update! :)


thumbnail

Turn A head diorama primed!


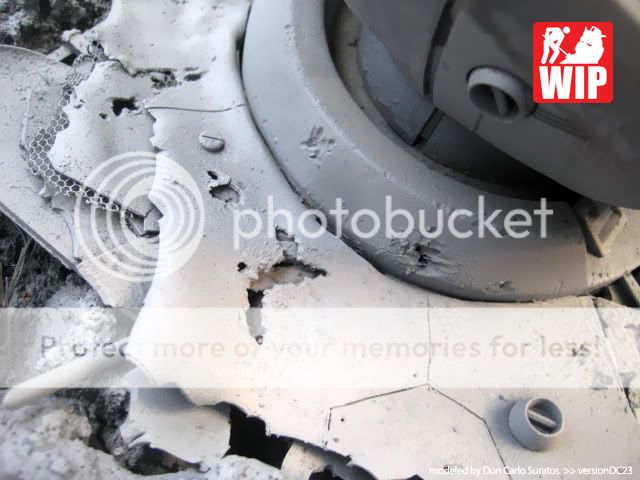
This is not yet ready for painting but I thought of priming it to see if the SB'ied body looks ok. I think I will have to give the rest of the head some major dents and battle damages to blend it better with the SB'ied body. On the other hand, I think both the head itself and the body needs more panel lines to blend it all together as the forehead is bombarded with lots of scribed panel lines.


I also need to add some more wires inside the head and around the right edge of the SB'ied body. I need super glue for that and I also need a red primer to give the head it's base coat. I plan to do the salt and hairspray technique for this one as I plan this to be my most rusted and weathered build to date. 


For those who are curious on why I am not working on the MG Zeta commish as it only needs a few more detailing and it is almost done. I basically realized yesterday that I ran out of Tamiya thin cement and there is NO way I could do small pla plating without thin cement. I thought of weathering the hangar diorama of the Zeta but soon realized that I also do not have enamel thinner at hand. 


Obviously, I really need to re-supply on materials soon so that I could work on my priority projects. Anyways, here are some photos of the primed Turn A diorama...


Thanks for dropping by! Til' next update! :)


Powered by Blogger.