Showing posts with label PG MKII wip. Show all posts
thumbnail

PG MKII commission - WIP - more armor shaving


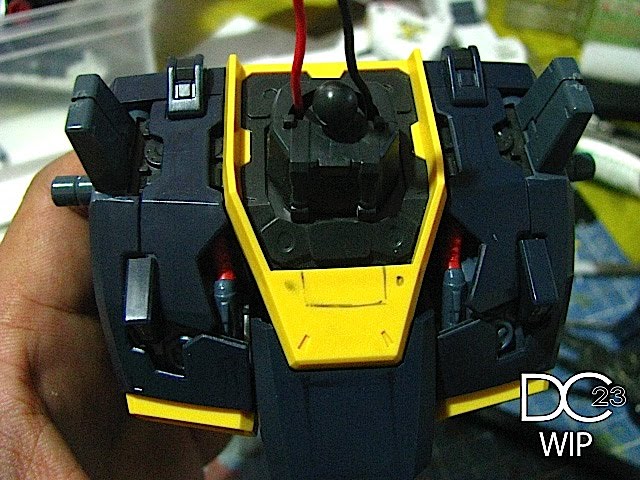
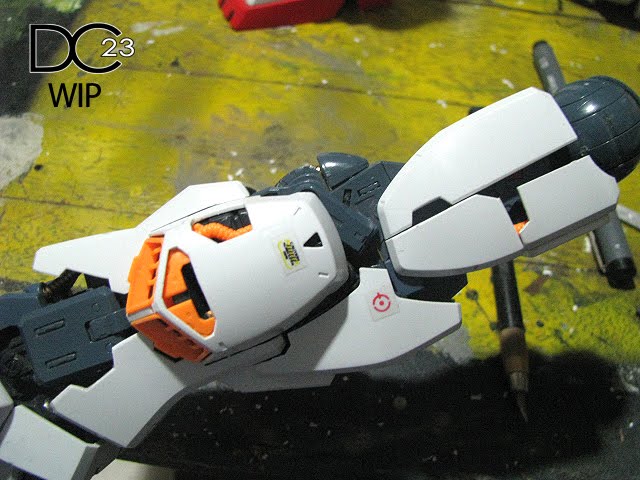
Ello guys, I have been working with this kit since after Lunch. I basically removed / shaved off more armor areas to reveal some internal details and give the armor a more interesting shape. The mods also gives a more complicated look to the overall appearance of the kit. I also exposed a few internal parts on the calf armor.


I could finish the modifications of this commission build this weekend. At this pint I only have to add my usual pla plating and maybe a few holes and koto parts. I am pretty satisfied with the segmented look of the armors, perfect for dark color schemes.


Again, client wants this in Titans color, so there won't be exaggerated pla plating this time as that won't be visible in dark color schemes anyways. Now here are some pics of the progress so far...


Thanks for dropping by! Til' next post! XD
thumbnail

PG MKII commission - WIP - diorama setup


Ello guys, I have been working with the initial set up of the hangar diorama of the MKII since after lunch today. I had to pack up early coz my daughter Samantha woke up with a bad mood ( sitting beside my portable table in the photos ), so I immediately took crappy photos and packed my tools away.


I am currently blogging with her on my lap now... hehe. Anyways, I managed to assemble a few 1/72 figures that came unassembled as usual. I also managed to stage the main catwalk and some reinforcements to stabilize the cat walk of course.


I have to detail the hangar soon but as you can see it is just a basic hangar diorama without walls... much like Toymaker's Maintenance Bay dioramas. Anyways, here are a few lousy photos of my progress so far...


Thanks for dropping by! til' a better post. XD
thumbnail

PG MKII commission - WIP - Armor Cutting


Ello guys I managed to cut the thick armors of the PG MKII yesterday and today. Kinda slow coz the armors are really thick and I am not really comfortable with this kind of mod. I first scribed some panel lines on the part to be cut and then saw it with my Hasegawa saw... I then cleaned it up with a file and an art knife.


I will then have to add a few pla plating to maintain consistency with the torso mods and I might scribe a few panel lines and some MSG option parts also. I friggin' ran out of Tamiya thin cement thus I could no longer detail this kit today. Well, at least I am back to working on this kit again.


This kit will not have much detailing coz the client wants it in Titans color, thus I am afraid the dark color scheme will just hide the pla plating if I add too much. Anyways, here are some pics of the armor cutting...


I scribed panel lines before cutting as a guide later...


A few thick 1.2mm pla plates before running out of thin cement...


Thanks for dropping by! til next post! XD


thumbnail

PG Gundam MK-II WIP part 3 - torso mods


Ello guys, I just finished detailing the PG MKII by cutting some armor parts and did some pla plating and some MSG Koto parts. I started working on the kit after lunch, so it took me around 5 hours to finish this...kinda slow actually. I have been slacking a bit for 2 weeks now, so I am a bit rusty I guess. hehe.


I used my fav triangular hasegawa saw to remove some portions of the armor parts to expose the very nice internals of the kit. PG internals are perfect after all...so I might as well expose them. The armor parts like the PG Zeta armor parts are  a bit difficult to cut actually, coz they are simply a ton thicker than MG armor parts. I have yet to clean up the glue marks of the pla plating and wet sand the pla plates to soften the edges a bit...but I think this is done. The client told me that he wants a Titan's color scheme for this, so I won't be adding too much detail, coz the dark Titan's scheme will hide it a bit.


I will then have to expose some internals on the other parts of the kit ( e.g. legs ) or scribe some thick panel lines if cutting the armor is not possible to maintain the consistency of the overall look of the kit. Anyways here are some pics of the progress...


the armor hides the very nice detailed internals of the waist part...


I exposed a few sections of the armor to expose some nice details...


I even exposed the rear waist area...


Now here are some photos with simple pla plating and some koto parts...


Thanks for viewing!!! ;)


Powered by Blogger.